|
|
Post by PHAT69AMX on Nov 5, 2018 11:43:51 GMT -8
? Any opportunity to know someone with access to a CMM Machine to get and document some precision Timing Cover Measurements ?
|
|
|
|
Post by sc397 on Nov 5, 2018 12:28:21 GMT -8
|
|
|
|
Post by PHAT69AMX on Nov 5, 2018 13:14:48 GMT -8
No, nothing in particular, just thinking accurate dimensional information would be good to capture.
In the past had seen where BullTear posted real AMC Mechanical Drawings of the back of the Block.
Wonder if there may be a real AMC Mechanical Drawing out there with Dimensions and Tolerances of the Timing Cover.
|
|
|
|
Post by sc397 on Nov 5, 2018 19:52:33 GMT -8
86. acm383stroker: Lost a couple of hours on this stupid oil pump cover. It was apart when I got it so I didn't even think to look to see if the plunger was in it before I hand lapped it to a mirror finish. The plunger didn't come out and I ended up punching a hole in the end trying to get it out with a drift. Now I will have to rework one of my own. What are these worth (without the hole in it)? 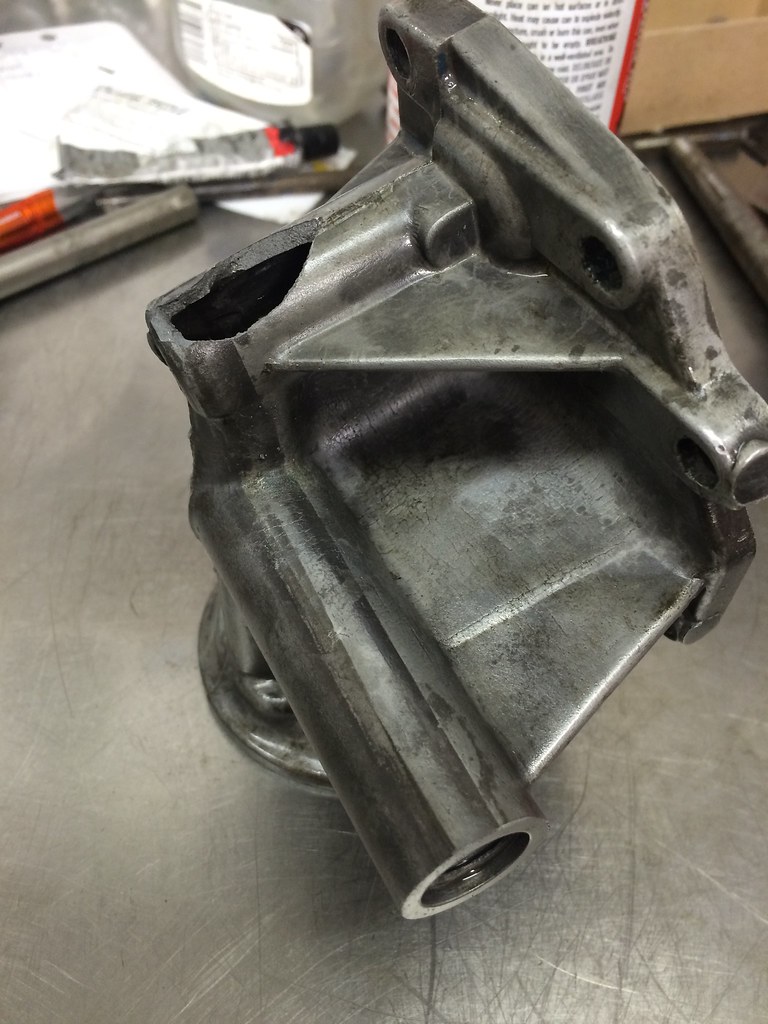 IMG_1038 IMG_1038 by Rick Jones, on Flickr Wish I had one of my bolt cleaners back.. These are from Texas?! 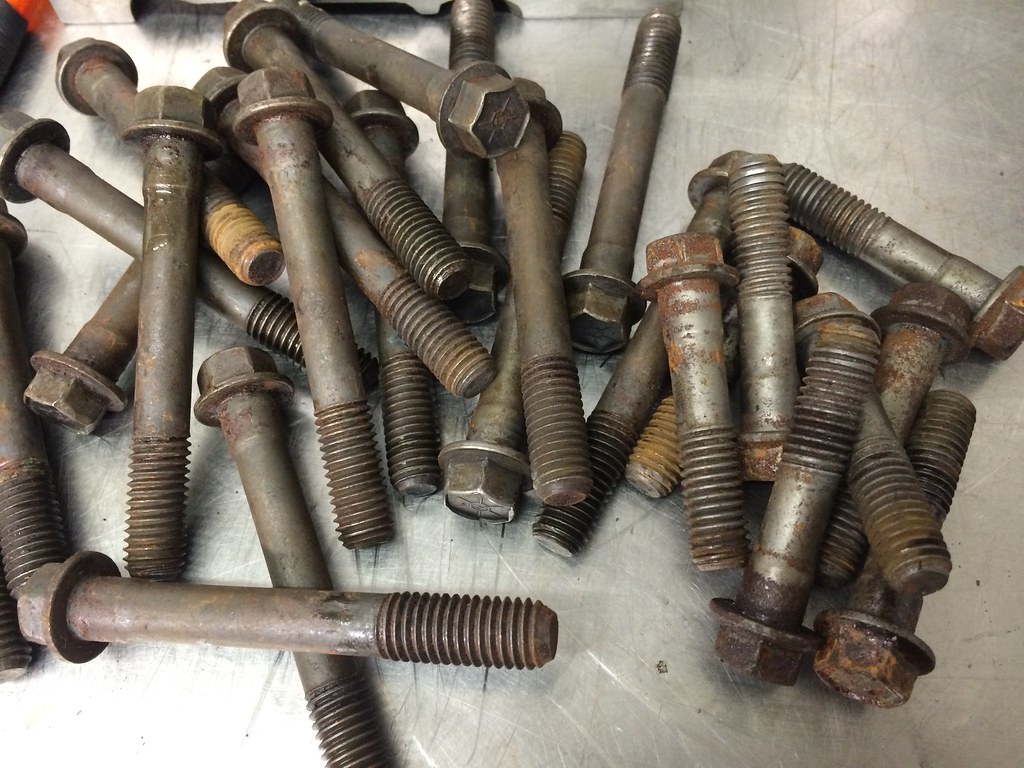 IMG_1039 IMG_1039 by Rick Jones, on Flickr I am replacing these 4 because of the funky threads. 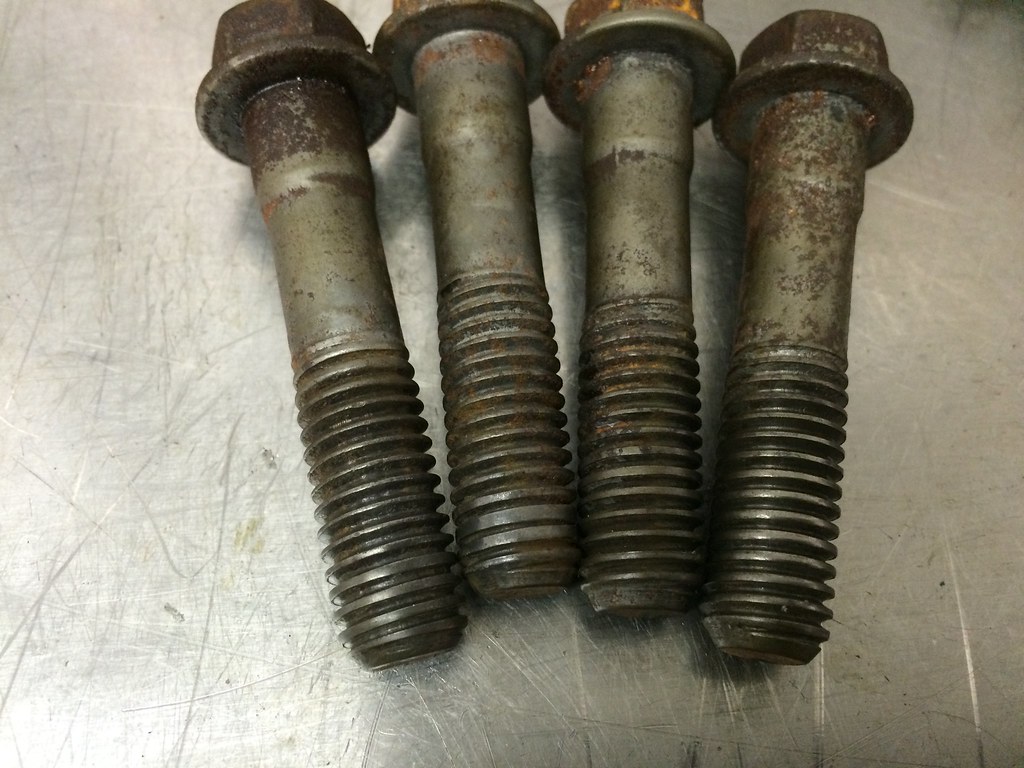 IMG_1040 IMG_1040 by Rick Jones, on Flickr Heads bolted on and one coat of paint while it is upside-down. He sent the paint and it is about 2 shades darker than the normal EN66. I don't know where it came from. 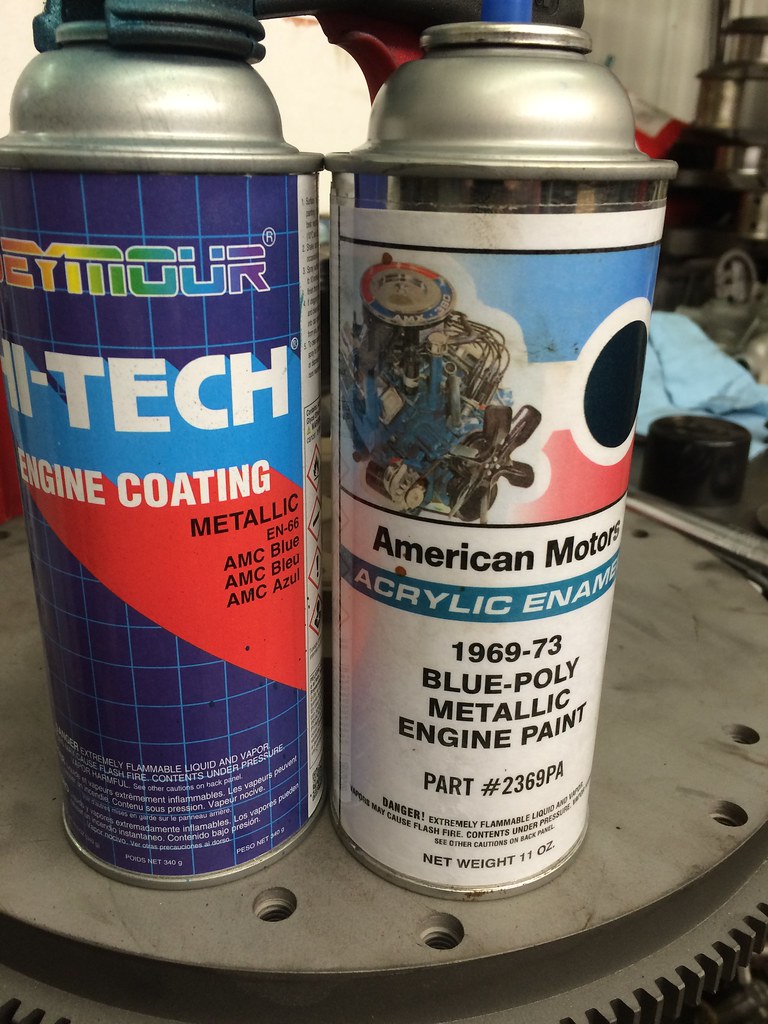 IMG_1029 IMG_1029 by Rick Jones, on Flickr 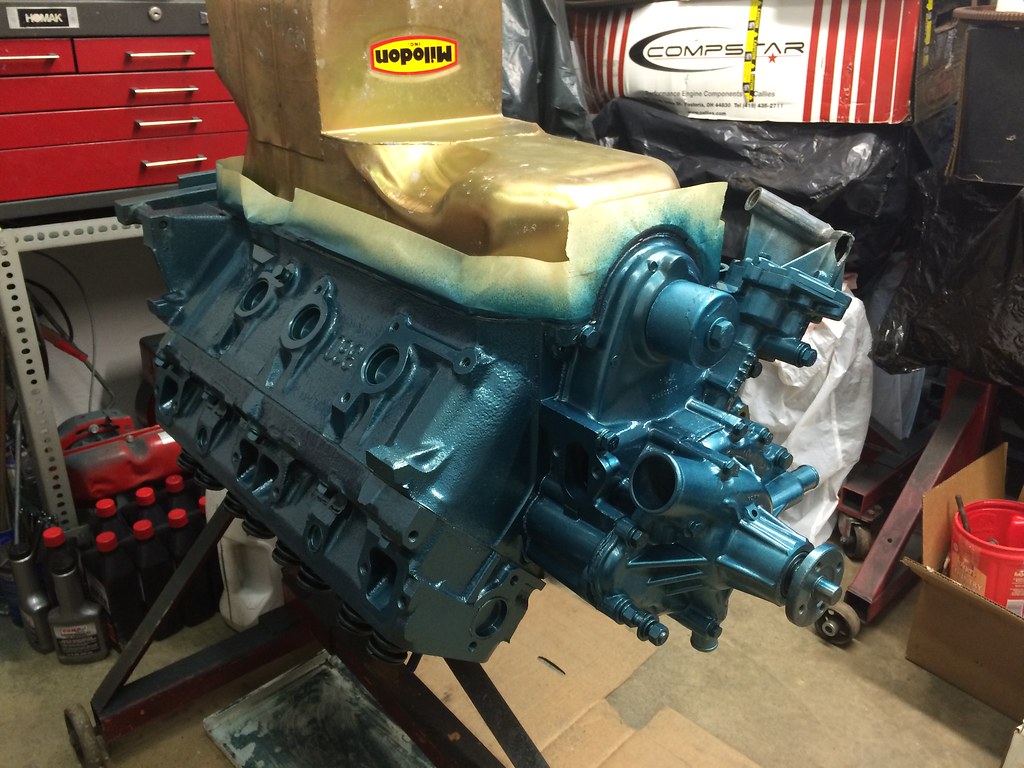 IMG_1041 IMG_1041 by Rick Jones, on Flickr |
|
acm
Cool Froods
Posts: 310
Member is Online
|
Post by acm on Nov 5, 2018 21:03:30 GMT -8
Rick,
Left you a couple messages.
But anyway...
In the box that contained the oil adapter there was a bag with the parts in it ( was even labeled).
Most of the bolts and the adapter where run through the ultrasonic cleaner to get all the grunge off them (with a de-greaser and rust preventative). The bolts definitely shouldn't be rusty.
Also remember asking you if you had what you needed for the build, and you replied that you hadn't looked at was in the crate yet.
If you are finding issue, CALL ME instead of just bitching on a forum. Could just go to the AMC forum for the BS.
The paint came from AMARK.
Also, I had another new OEM timing cover that could have been sent no problem.
|
|
|
|
Post by 69Rebel on Nov 5, 2018 21:05:36 GMT -8
That'll weld up just fine.
|
|
acm
Cool Froods
Posts: 310
Member is Online
|
Post by acm on Nov 5, 2018 22:12:48 GMT -8
shit, why not JB Weld???
|
|
|
|
Post by sc397 on Nov 6, 2018 3:55:55 GMT -8
Rick, Left you a couple messages. But anyway... In the box that contained the oil adapter there was a bag with the parts in it ( was even labeled). Most of the bolts and the adapter where run through the ultrasonic cleaner to get all the grunge off them (with a de-greaser and rust preventative). The bolts definitely shouldn't be rusty. Also remember asking you if you had what you needed for the build, and you replied that you hadn't looked at was in the crate yet. If you are finding issue, CALL ME instead of just bitching on a forum. Could just go to the AMC forum for the BS. The paint came from AMARK. Also, I had another new OEM timing cover that could have been sent no problem. Yea, the rest of the parts for the oil adapter are in a bag but the plunger was frozen in the housing. It happens, not a big deal. Your timing cover is ok, it just needed cleaned up. Must be we had something going on with the ultrasonic cleaning and the rust preventative not doing it's job. Not bitching on the forum, I was just showing was going on and showing you the progress. |
|
acm
Cool Froods
Posts: 310
Member is Online
|
Post by acm on Nov 6, 2018 6:33:25 GMT -8
Appreciate the progress updates. Maybe I read it differently than how the post where actually meant...
I checked a bunch of the other bolts that I cleaned up with the same batch of chemicals. Found a few that had some rust spots on them but nothing as bad as what was on the head bolts you showed. My guess is I didn't rinse those bolts as well as I should have.
The engine was sent to you because the previous build(s) had some serious issues and I figured there was a better chance you could get things going again than I would.
Still think it is with the right person for this build.
Andrew
P.S. Car was originally from New Jersey...it just got to Texas as fast as it could.
|
|
|
|
Post by n2ojoe on Nov 6, 2018 6:39:26 GMT -8
Good updates Rick, I like how you show all the little issues that a less experienced builder would overlook. It definitely shows you truly care about producing a quality engine. Keep up the good work!
|
|
|
|
Post by spud on Nov 6, 2018 7:07:15 GMT -8
I really like that color blue
|
|
|
|
Post by stickshifter on Nov 6, 2018 19:05:24 GMT -8
Sometimes the truth hurts. Like going to the doctor after being on a diet for 6 months and the doc telling you that you are still a fat ass and need to lose some weight. I think being upfront with the facts is the best approach. But I can see where someone could be a bit bothered if the delivery of the info is not as smooth as possible. But just like the doc in my analogy, the doc sees shit everyday and sometimes forgets he's talking to a patient.
Just an opinion, I could be wrong.
BTW, if the biggest thing Rick is bitching about is the little rust on the bolts or a stuck oil pressure relief valve, you know you're in good hands. A lot of guys wouldn't even bother with those details.
|
|
|
|
Post by sc397 on Nov 7, 2018 5:09:53 GMT -8
86. acm383stroker. I am sure what rusts these parts is the huge swings in humidity and temperature here, not the prep before it gets here. When I used to do a lot of body work, you could see stuff surface rust within a hour under the right (or wrong really) conditions. I have been spraying stuff with engine fogging oil to keep it from rusting. Regardless, hit these with the sand blaster and wire wheel and they looked new again. (I did scrap the spring and put a new one in though) 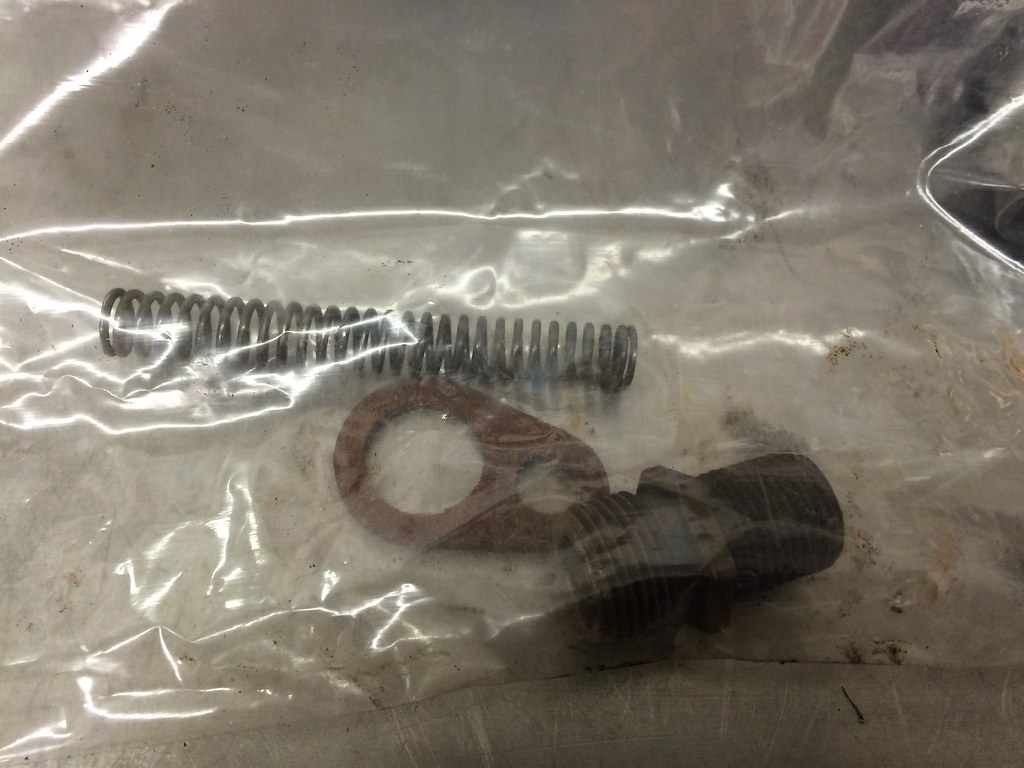 IMG_1042 IMG_1042 by Rick Jones, on Flickr Oil pump cover now good to go. I kinda like the darker color as well. 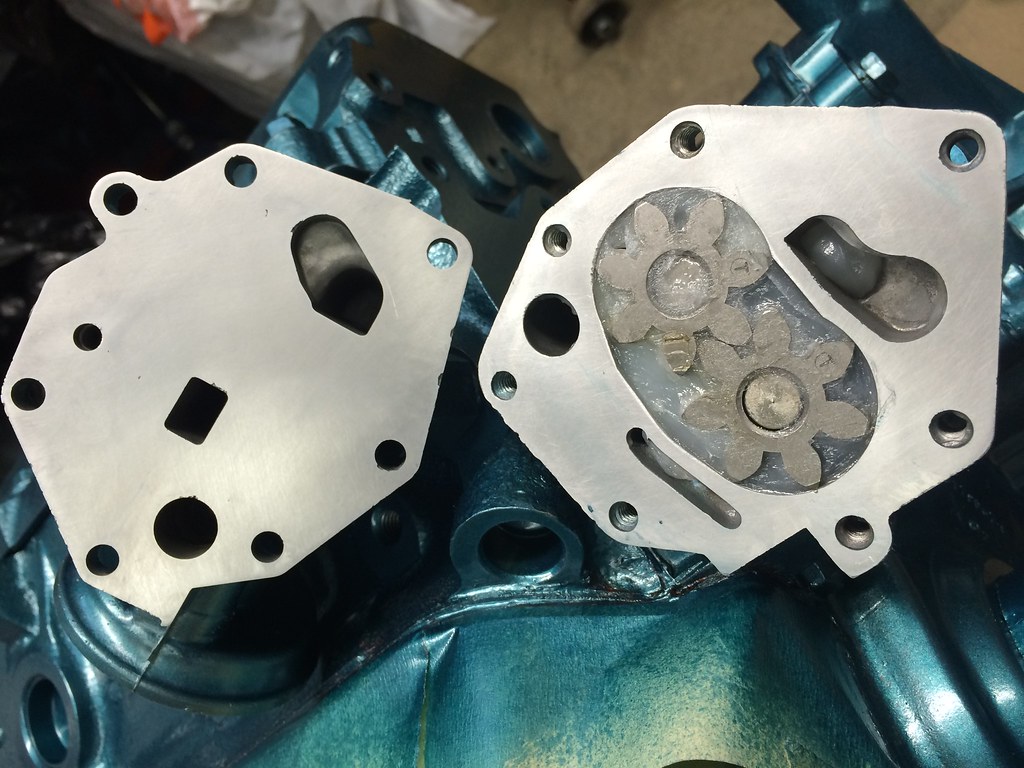 IMG_1044 IMG_1044 by Rick Jones, on Flickr The rocker arms had been bottomed out on the studs. They are still to low with the new cam so, I ordered new hardened push rods. The heads are the 91C's (with a nice porting job I might add) and have the slot made in that act as a guide plate. Seems like either you have to hog the holes out and use guide plates or, just go with the slot in the head as a guide. Something to inspect every now and then for excessive wear anyway.  IMG_1047 IMG_1047 by Rick Jones, on Flickr  IMG_1048 IMG_1048 by Rick Jones, on Flickr Made a baffle plate for the PCV valve. 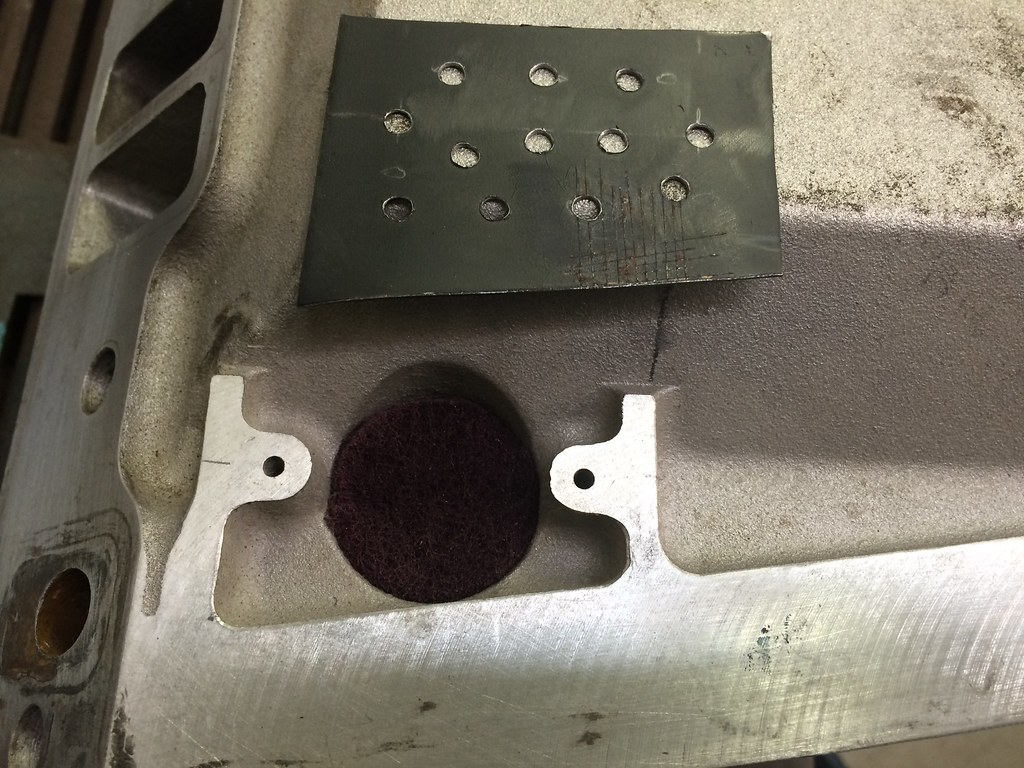 IMG_1049 IMG_1049 by Rick Jones, on Flickr 80. dtatum Edelbrock360/727: Bro-Farmguy3 helped me out by starting to clean this one up yesterday. Yea, I let him sit down on the job.. He got hit in the head with a fork from a fork lift the other day so, he is a little dizzyer than normal. His quote: "Caught a fork in the head this week. Got a knot the size of a tranny's adams apple right on the crown of my mellon." 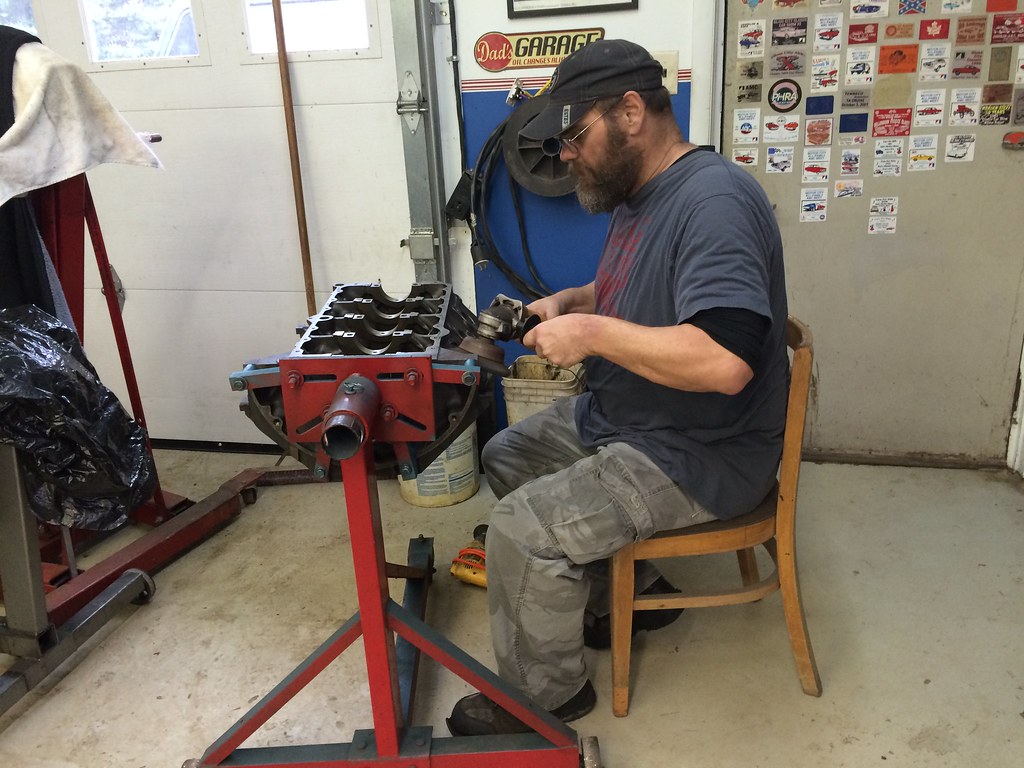 IMG_1046 IMG_1046 by Rick Jones, on Flickr |
|
|
|
Post by PHAT69AMX on Nov 7, 2018 7:45:23 GMT -8
The Harland Sharpe Roller Rockers for AMC that I got about 2007 or 2008 had a generous chamfer around the bottom opening...  |
|
|
|
Post by sc397 on Nov 7, 2018 16:06:02 GMT -8
Interesting, on the Harland Sharps. 86. acm383stroker. Another long day but it runs. Ordered push rods from Summit last night and got them today just in time for me to put them in and fire the mother up. 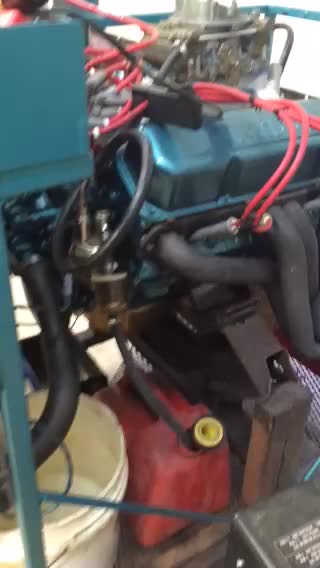 IMG_1050 IMG_1050 by Rick Jones, on Flickr Went through 3 heat cycles and changed the water twice. She has antifreeze in her now and is behaving quite nicely. Tomorrow, I run it some more and re-torque head bolts, adjust the rockers, and change the oil. 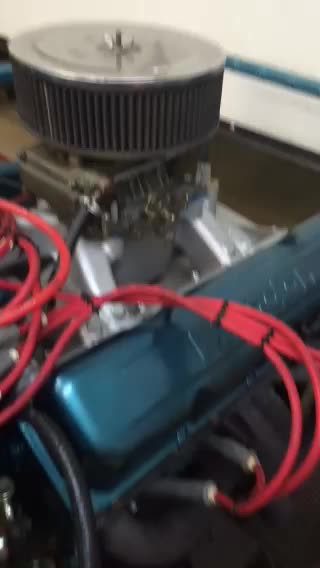 IMG_1052 IMG_1052 by Rick Jones, on Flickr |
|


